Learn more


Securing Your Miniature: A Step-by-Step Guide
When it comes to painting miniatures, one of the most important steps is securing your miniature in a holder. This ensures that your miniature stays in place while you work, allowing for greater precision and control. In this step-by-step guide, we will walk you through the process of securing your miniature, from choosing the right holder to checking its stability.
Step 1: Choose the Right Holder
First and foremost, you need to select a painting holder that fits the size of your miniature. The holder should be able to grip the base of your miniature tightly without causing any damage. There are various types of holders available, from adjustable clamps to magnetic bases. Consider the size and weight of your miniature to determine the best holder for your needs.
Step 2: Position Your Miniature
Once you have chosen the right holder, it's time to position your miniature. Carefully place your miniature on the holder, ensuring that the base of the miniature aligns with the grip of the holder. This will help keep your miniature stable throughout the painting process.
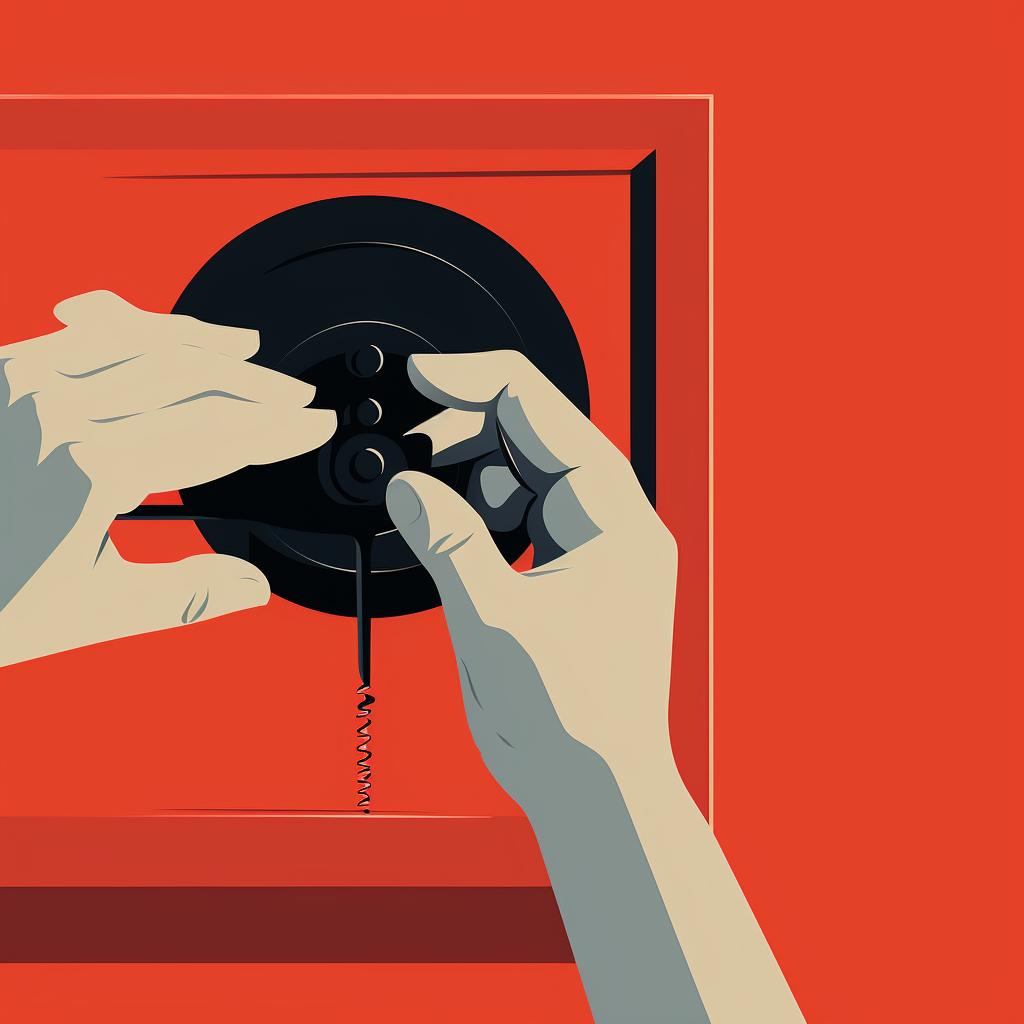
Step 3: Secure the Miniature
Now that your miniature is in position, it's time to secure it in the holder. Most holders have a screw or clamp mechanism that allows you to tighten the grip. Start by tightening the mechanism until the miniature is firmly held, but be careful not to squeeze it too tightly. You want to ensure a secure hold without damaging the miniature or restricting your movement.
Step 4: Check Stability
Once your miniature is secured, it's important to check its stability. Gently rotate the holder and apply light pressure to see if the miniature stays in place. If it moves or wobbles, adjust the grip until it's stable. This will ensure that you have a solid foundation to work on and prevent any accidental smudges or mistakes.
By following these four simple steps, you can effectively secure your miniature in a holder and create a stable painting surface. This will not only make the painting process easier but also result in a more professional-looking miniature. So, the next time you sit down to paint, remember to choose the right holder, position your miniature correctly, secure it firmly, and check its stability. Happy painting!
Remember, securing your miniature is just one step in the process of painting miniatures. To learn more about other essential techniques and tools, be sure to explore our comprehensive guide at Paint Miniature.
All Rights Reserved © 2025


